
Turning your living room into a home theater doesn’t require ripping out walls or hiring a contractor. With thoughtful planning, the right gear, and a clear budget, you can create a space that pulls people in from the moment they walk through the door. Whether you’re retrofitting an existing room or starting from scratch, modern home theater setups are more flexible and affordable than ever. This guide walks through seven practical <a href="https://asapproduce.com/home-renovation-ideas/”>ideas that fit real living rooms and real budgets, covering everything from equipment selection to layout that actually works with your furniture.
Table of Contents
ToggleKey Takeaways
- Start your living room home theater ideas by measuring your space and setting a realistic budget—modest setups cost $1,500–$3,000 while premium projector systems can exceed $10,000.
- Choose between a projector (100+ inches, needs light control and $2,000–$8,000 investment) or a 4K TV (simpler installation, works in any light, $1,200–$4,000 for 65–75 inches), based on your room’s natural light and viewing habits.
- Audio quality is critical: a quality soundbar ($400–$1,200) handles most scenarios, but a full 5.1 surround system ($2,000+) delivers true immersion with proper speaker placement and a dedicated subwoofer.
- Implement layered lighting with task, ambient, and accent options using dimmers and smart bulbs to create cinema-quality ambiance without glare on your screen.
- Position seating 1.5–2.5 times the screen width away and invest in comfortable recliners or sectionals with proper lumbar support, as viewers will spend 2–3 hours at a time in your theater.
- Plan your layout and wiring in advance—measure twice to avoid costly equipment mistakes, use CL2/CL3 rated speaker cables for safety, and consider hiring a professional electrician for new circuits.
Assess Your Space and Set a Budget
Before buying a single piece of equipment, measure your room and understand its constraints. Walk through at different times of day, natural light from windows will drive your display choice. Note wall dimensions, closet placement, electrical outlets, and whether you’re in an apartment (rules about mounting) or a house where you can run conduit behind walls.
Budget varies wildly. A modest setup with a mid-range 4K TV, soundbar, and basic mounting might run $1,500–$3,000. A dedicated projector system with ceiling installation, acoustic treatments, and a quality surround setup can exceed $10,000. Be honest about what you’ll actually use. If you watch sports more than movies, prioritize TV refresh rate and brightness over projector bells and whistles.
Write down your non-negotiables: projector vs. TV, seat count, and whether you need streaming integration. Everything else flows from that. Sketch a rough floor plan showing the TV or projection surface, seating distance, and any architectural features (beams, fireplace, corners) that’ll shape your layout. This takes 20 minutes and saves hundreds in poor equipment choices.
Choose the Right Display Technology
Your display is the centerpiece. The two main paths are TV or projector, each has real trade-offs.
Projector vs. TV: Which Works Best?
A projector scales to 100+ inches, making movies genuinely cinematic. You’ll need a dark or light-controlled room, a proper screen (not a white wall, it scatters light and kills contrast), and ceiling clearance for mounting. Brightness matters: look for at least 2,500 lumens if you have windows: 1,500–2,000 for a blacked-out room. Lamp or laser-based projectors run $2,000–$8,000 depending on features. Installation often requires running power and HDMI conduit, which may need a permit in some jurisdictions.
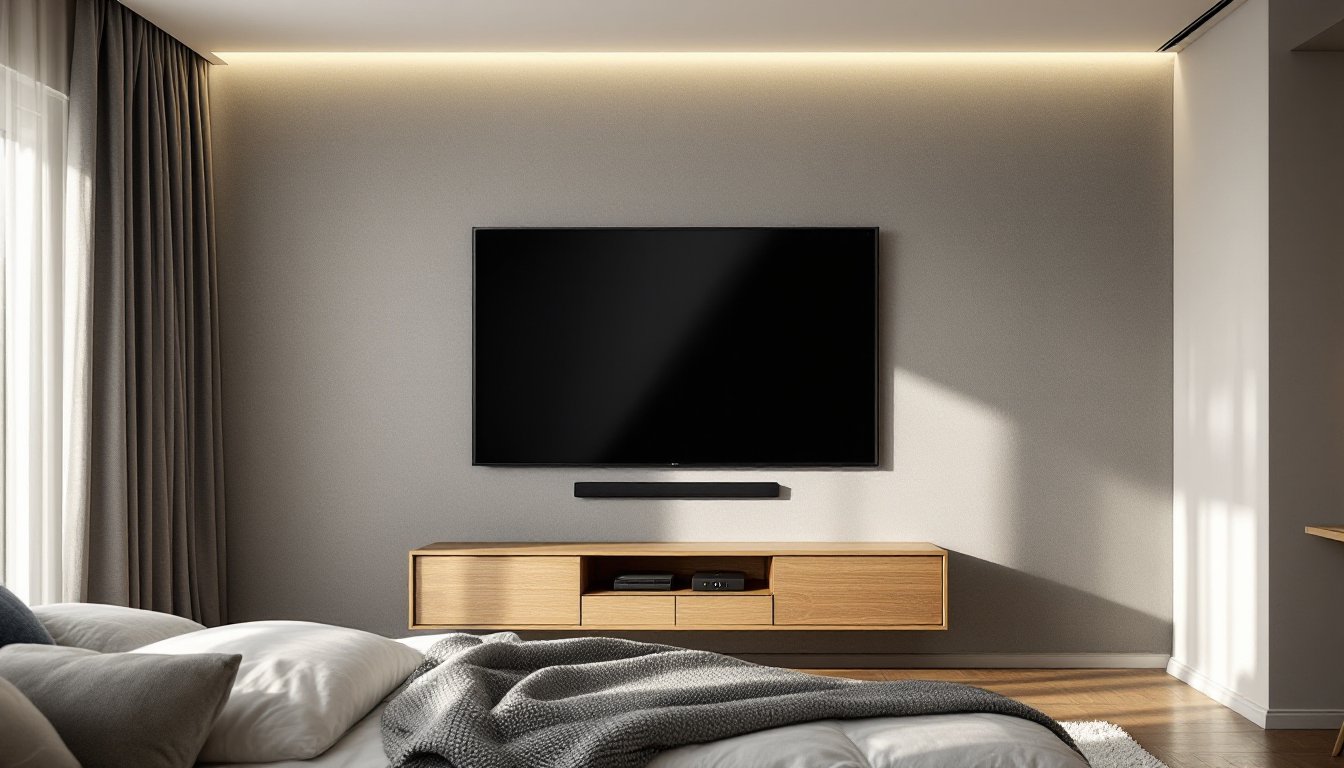
A 4K LED or OLED TV works in any light condition and requires no installation beyond a wall mount or stand. OLED delivers superior contrast and color accuracy but costs more. LED TVs are brighter and cheaper. Screen size maxes out around 85 inches for most living rooms, sitting 8–10 feet away, a 65–75-inch TV is the real-world sweet spot. Expect $1,200–$4,000 for quality 4K.
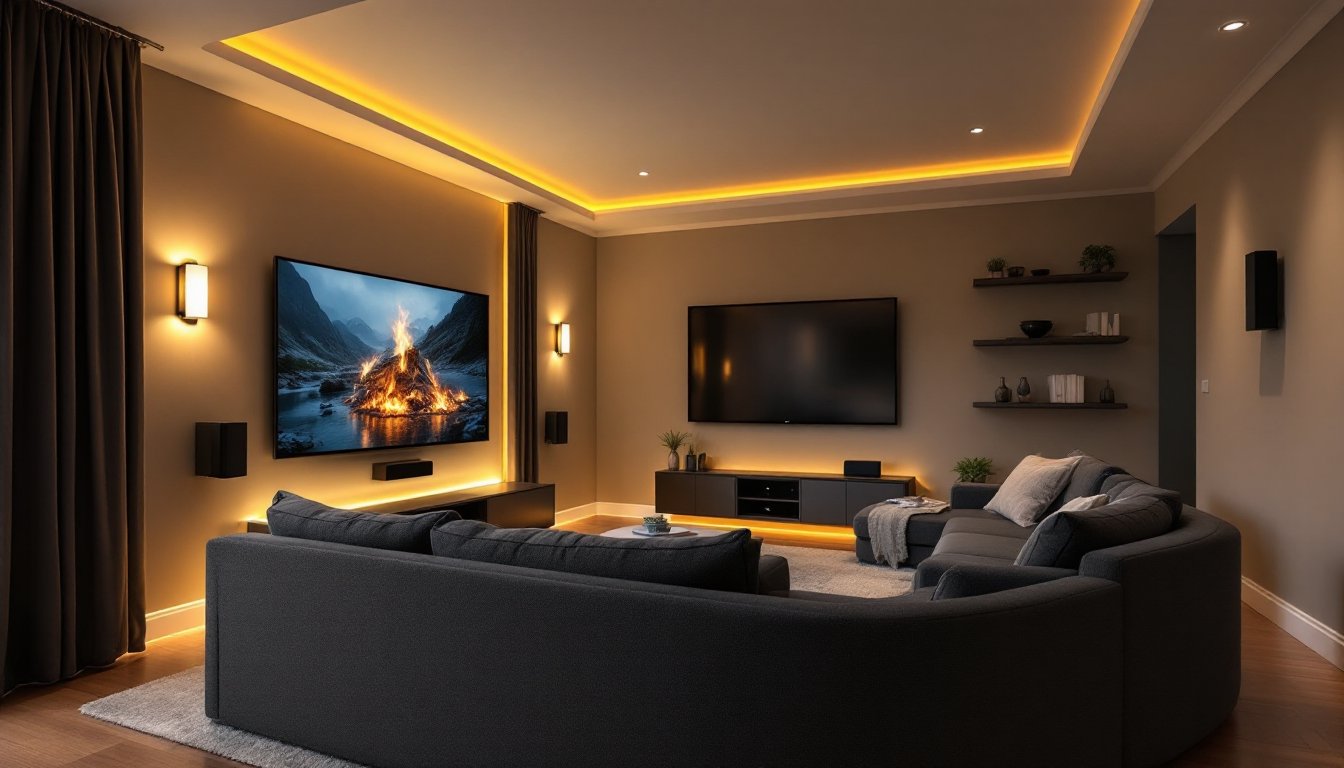
Choose projector if you have the space, budget, and light control. Choose TV if you watch in daylight, want simplicity, or have a smaller room. Many people compromise with a quality 70-inch TV rather than betting the whole setup on darkening a room. Check recent home theater design inspiration to see what matches your living room’s natural light and layout.
Design Your Audio System
Picture is half the experience: audio is the other half. A TV’s built-in speakers won’t cut it, they’re tinny and front-facing only.
Soundbars are the entry point: a single bar under the TV or on a shelf delivers dialogue clarity and spatial width without running speaker wire through walls. A quality 3.0 or 3.1 soundbar (three front channels plus subwoofer) runs $400–$1,200 and handles 80% of viewing scenarios. Dolby Atmos-capable models add overhead channels via upward-firing drivers, creating convincing height effects. Make sure your bar fits your TV width: nominal measurements matter.
Surround systems require more wiring but immerse you. A 5.1 setup uses left/center/right speakers across the front, two surround speakers to the sides or slightly rear, and a subwoofer. Wiring runs along baseboards or behind drywall (mark studs before cutting). A proper 5.1 system starts around $2,000 and requires a receiver with surround pre-outs, not all soundbars support this.
Subwoofers matter more than people think. Even a modest 10-inch powered sub ($300–$600) adds weight to movies and music. Buy one that matches your room size: estimate 1 cubic foot of enclosure per 50–100 square feet of room.
Run speaker wires in conduit if possible to avoid tripping hazards. In-wall wiring should use CL2 or CL3 rated cable (safety-rated insulation) and must not cross electrical lines without 6 inches of separation. When in doubt, hire it out. Poor wiring compromises sound and creates fire risk.
Plan Lighting and Ambiance
Lighting makes or breaks a home theater. You need three layers: task lighting (for movie setup), ambient lighting (overall room control), and accent lighting (mood and cinema feel).
Task lighting: A small overhead fixture on a dimmer lets you move around safely. LED bulbs are efficient and flicker-free: avoid cheap LEDs that hum or flicker at low dim levels.
Ambient lighting: LED strips behind the TV or along baseboards let you set tone without glare on the screen. Warm white (2700K) feels cozy: neutral white (4000K) is more versatile. Separate circuits or smart bulbs (Philips Hue, LIFX) cost more upfront but let you adjust color temperature and brightness remotely, game-changer for late-night viewing.
Blackout strategy: If you go projector, you’ll need blackout shades or curtains for daytime use. Motorized shades are convenient but pricey: manual roller shades work fine and cost $100–$300 per window. Fabric-backed shades ($20–$60 per yard at fabric stores) hung on existing tracks are a cheap fix for small windows.
Avoid recessed lights directly above seating, they’ll cast shadows and annoy viewers. Wall sconces flanking the TV or mounted behind seating work better. If running new circuits, check local codes: most jurisdictions require NEC-compliant wiring with proper boxes and breaker protection. Running more than one new circuit or dimmer likely needs a licensed electrician.
Select Comfortable Seating and Layout
Seating comfort determines whether your theater gets used or becomes a fancy dust collector. People spend 2–3 hours at a time here, so lumbar support and legroom matter.
Traditional sofas work if you already have one: add a reclining loveseat or sectional for depth. Sectionals eat space, measure before buying. Theater recliners (motorized or manual) start at $600–$1,500 per seat and let viewers adjust legrest and backrest independently. Manual recliners are cheaper and quieter: motors add convenience but another failure point.
Layout rules of thumb: Seating distance should be 1.5 to 2.5 times the screen width. A 65-inch TV pairs well with seating 8–11 feet away. A 100-inch projector wants 12–18 feet. Rows should be at least 3 feet apart front-to-back: viewers in the back row need a slight elevation (risers or a platform) to clear heads of front-row viewers.
Acoustic treatments: If you’re mounting surround speakers or adding a receiver with real speaker outputs, soft furnishings (rugs, curtains, upholstered furniture) absorb midrange frequencies and prevent echo. Hard floors need a rug: untreated plaster walls bounce sound. Cheap acoustic panels ($30–$100) mounted on side walls tame reflections. Real acoustic foam runs $200+, but you don’t need it unless sound is boomy.
Test seating before committing. Sit for 30 minutes, watch a movie clip, and adjust as needed. Creative living room home theater setups show layouts for different room sizes, from cozy apartments to sprawling basements.
Conclusion
A home theater grows from space, budget, and honest use cases, not wish lists. Start with one anchor decision (TV or projector), then layer display, audio, lighting, and seating that fit your room and lifestyle. Most setups evolve over time: you don’t need everything day one. Measure twice, buy once, and don’t skimp on prep work like wiring and acoustic treatment. With planning, your living room becomes the place everyone wants to be.